Cat Eye Makeup Tutorial: A Step-By-Step Guide With Pictures
All you need is a little practice to master the art of perfecting this timeless look.
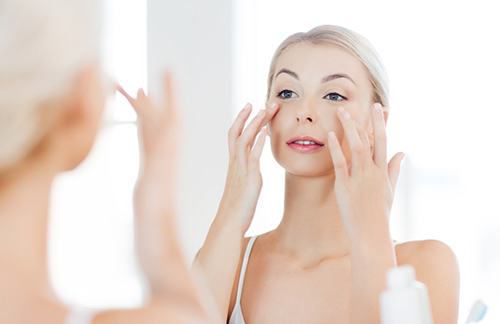
Image: iStock
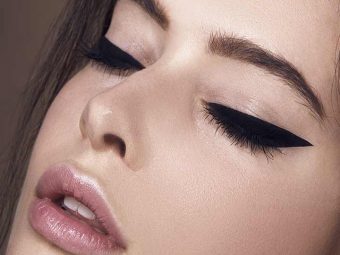
Cat-eye makeup looks dramatic and glamorous. It is an all-time classic, lid-elongating, and one of those time-honored eyes looks that appear good on everyone. However, it is quite difficult to master this technique. Nevertheless, you will find plenty of cat eye makeup tutorials by makeup artists, beauty bloggers, vloggers, and influencers, if you search online. Eye makeup trends keep coming and going, but the statement cat-eye look has stood the test of time in both beauty industries and cosmetics brands. It has been trendy for centuries and is loved by professional makeup artists.
If you want to master this technique, keep reading this article to find a step-by-step guide.
 Keep In Mind
- Tape Technique: Apply two pieces of tape per eye—one near the top lid and one angled at the bottom next to the lash line. Fill the space in between with eyeliner to create the cat-eye shape.
- Eyeshadow Color: For your eyeliner to stand out, choose a subtle eyeshadow shade. Use a darker shade if you’re going for a glam look.
- Hooded Eyes: To create a winged eyeliner look, apply the wing tip at the start of the hood. Create a 45-degree wing line, then draw a diagonal line from the inner corner of the wing to the upper lash line to make an upside-down check mark at the outer corner of your eye.
- Tightline: Apply eyeliner between the lashes as this makes them look thicker at the roots and helps to create a base for a longer-lasting cat-eye look.
- Sharp Lines: To create sharp cat eyes, use a thin cotton swab with micellar water to sharpen the line. Then, add concealer and blend it out.
What You Will Need
- Primer
- Eyeliner
What To Do Before Going To Do Cat Eye Makeup?
There are a few things you should do before you start on your makeup. Follow the important steps below.
Step 1: Prep The Eye
The very first step is to create a good base for the cat eye. Make sure to thoroughly cleanse, tone, and moisturize. If you have redness around the eyes, dark circles, or puffiness, use an eye serum or an eye cream. These do wonders! To make sure that the makeup sits well, apply a primer.
Step 2: Pick An Eyeliner
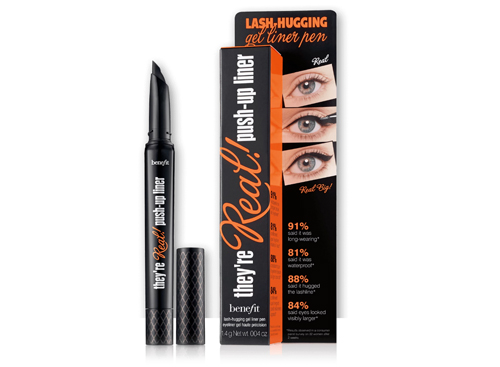
Now that you’ve got the base done, it’s time to pick out a product that works for you. You can use a liquid liner that comes in a tiny vial bottle with a thin brush applicator or a felt tip pen. You can also use a gel-based eyeliner that comes in a pot. You will have to use an angled brush or eyeliner brush for this. For the sake of simplicity, use a felt-tip eyeliner. This is convenient and easy to use if you are a beginner.
 Fun Fact
Now, without further ado, let’s get started with the tutorial!
In This Article
How To Do Cat Eye Makeup – Tutorial
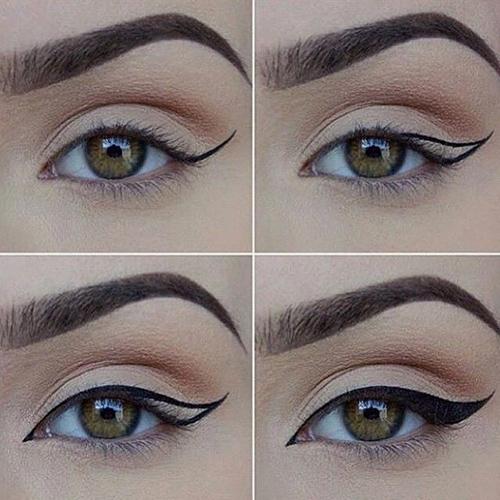
Step 1: Line The Upper Lash Line
Line the upper lashline in slow strokes. Start off with small strokes, since you don’t want to rush too quickly and mess it up. If you make small strokes, you can gradually increase the thickness as per your requirement.
Step 2: Find The Right Angle
This is crucial! Follow the natural shape of your eyes to guide you as to where your flick would go. Imagine that your lower lash line is extended. This should be the angle that you create a flick. You can use an eyeshadow and an angled brush to roughly map out the shape.
Step 3: Create The Flick
Once you have the angle figured out, use dotted motions with your eyeliner to create a flick. Using small dots will help you figure out what the flick’s final shape would be. When you are satisfied with this, join the dots and fill it in to connect to the line you’ve drawn above your lash line.
Step 4: Clean Up
If the shape is a little wonky, you can always use a cotton swab or concealer to correct it. Voila! One perfect cat eye, ready to see the world!
Maria, a beauty and fashion blogger, shared her cat eye eyeliner technique on her personal blog. She uses a thin brush eyeliner and she explains, “I know there are so many ways to do this, I myself do it differently sometimes, but this is what I think worked best for me (i).”
 Fun Fact
Play With Your Cat Eye!
1. Thickness
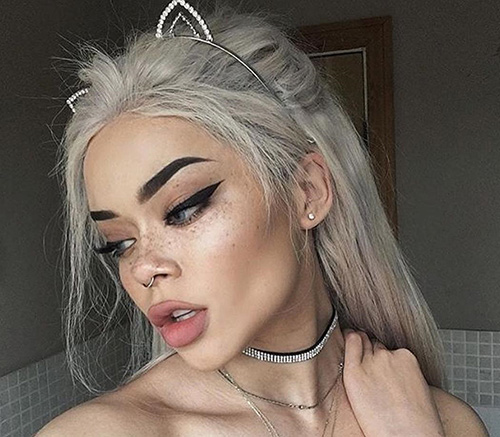
Feeling a little bold? Make the line above the lashes thick. A rounded and thicker look will make your eyes appear bigger. If you’re looking to elongate the shape of your eye, then create a thin line. A thinner cat eye will make give the illusion of longer eyes.
2. Length
You can also play around with the length of the flick, but not too much. If you want to keep it simple, you can create a tiny flick. I call this a kitten eye (haha, get it?). When you want to go for the dramatic look, you can afford to make it a little longer. Avoid both extremes as it can look out of place.
3. Shape
Another thing to consider is, what kind of shape you’re looking for. A straight sharp flick will give you an edgy look. Go for a curved flick to get that classic and graceful Sophia Loren vibe.
Different Types of Cat Eye Makeup Looks
The classic cat eye is great, but you can also play around with it once you are comfortable with it.
Take a look at the different styles you can opt for:
1. Smokey Cat Eye
Who doesn’t love a good smokey? They are always trending. I love my fair share of black liners so this is one of my favorites. What’s more, it’s really simple to create!
- Step 1: Create the cat eye with a pencil that can be smudged.
- Step 2: Use a brush to smudge it out and create a soft look while keeping the shape of the flick.
- Step 3: Apply the pencil liner to your lower lash line as well and smudge.
- Step 4: Use a concealer under the flick to make it stand out more for a sultry, feline look. That’s all!
2. Eyeshadow
Add a little something extra. Go the long mile and apply some eyeshadow.
- Step 1: Apply some eyeshadow and blend well.
- Step 2: Create the cat eye. It’s as easy as that!
3. Bright Semi-Smokey
If you want to keep the cat eye black, but want to play around with the colors, this one is for you.
- Step 1: Create the cat eye like you normally would.
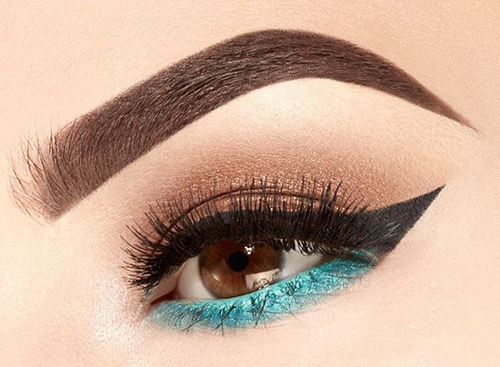
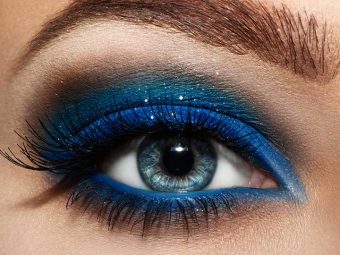
- Step 2: Use a fun bright color of your choice. Something like bright blue!
- Step 3: Run it across your bottom lashline for a smokey effect. There you have it!
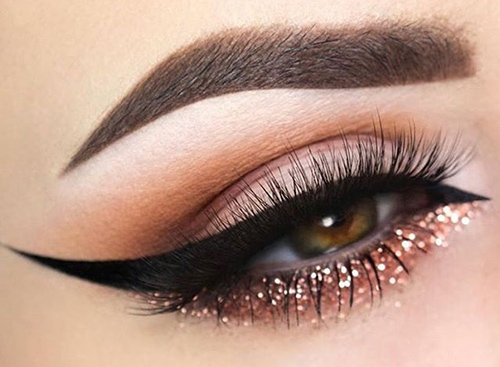
4. Glitter Cat Eye
Pop some glitter under the eyes to make it stand out.
- Step 1: Create a cat eye.
- Step 2: Create a smokey effect by using brown eyeshadow near the lower lashline to create a base.
- Step 3: Choose a glitter liner. If you don’t have one, you can also use glitter pigment and apply it with a very fine brush.
- Step 4: Apply under the eyelashes to create a bright and sparkly look.
 Quick Tip
These looks are extremely easy and super fun to create. Now that you know all that there is about how to master the cat eye, take a look at these tips on how to further perfect it.
Tips To Be Followed While Applying Cat Eye Makeup
- Do not pull the skin near your brow bone while creating the flick. This is a huge no-no! You will end up completely messing up the shape.
- Instead, look down so that your canvas, aka your skin, is smooth to work on.
- Invest in a makeup mirror. It will help you in perfecting those small details.
- Try and use a vanity or a dressing table while applying the eyeliner. This will make it easier to hold your body in a good position. You can rest your elbow on the table, which will give you a steady hand and a smoother outcome.
Infographic: How To Perfect The Cat Eye Look
The classic cat eye look is a cult favorite and looks stunning on everyone. Perfecting this eyeliner technique may seem like a challenging task, but it is easier than it appears. All you need is some patience and a little practice to master it. The following infographic features the easiest cat eye makeup tutorial to help you achieve the look effortlessly. Check it out!
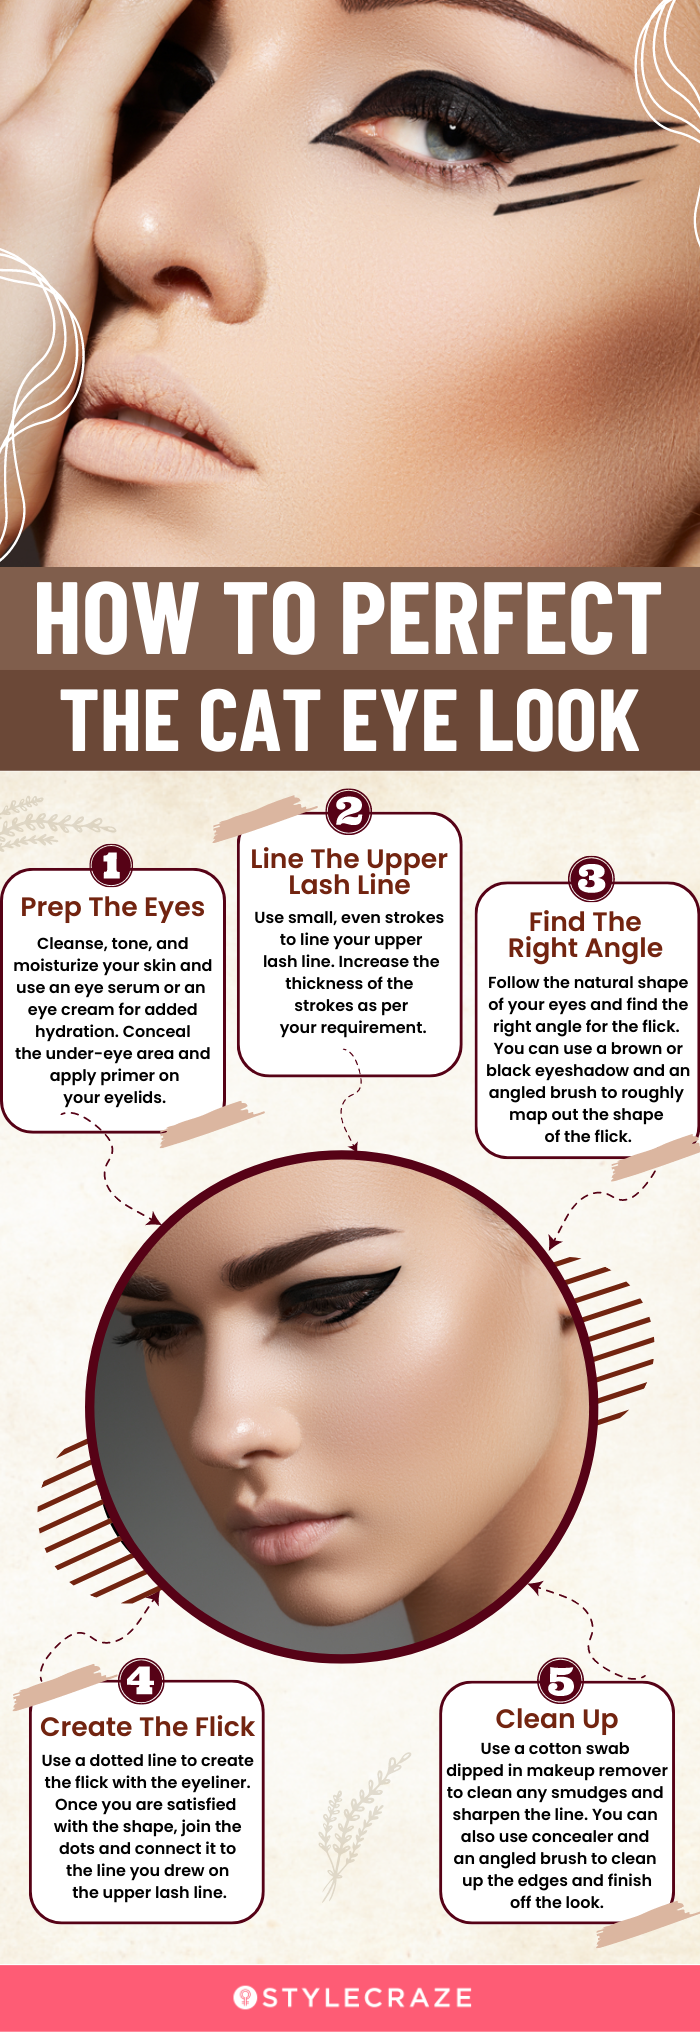
Illustration: StyleCraze Design Team
Save the high-quality PDF version on your device now.
Download Infographic
A cat-eye look may not be easy to master, but hey, they say practice makes perfect. In this article, we have shared some great tips as part of the cat-eye makeup tutorial that is easy to follow. Just the learning process seems fun because of the endless possibilities. It makes us wish for the weekend to be here already so that we can have some fun with this look. But why are you still here? Trust us, try it out, and you will swear by it by the time you perfect it.
Frequently Asked Questions
What’s the difference between winged and cat-eye liner?
A cat-eye liner is similar to a winged liner, except the wing is usually thicker and extends both along the top and bottom lash lines. Generally, wing liner is applied only to the top lids.
What is a reverse cat-eye liner?
Reverse cat-eye liner is the upside-down version of cat-eye liner and starts underneath the lower lash line.
Who started the reverse cat-eye trend?
Youtuber PAINTEDBYSPENCER is said to have started the reverse cat-eye trend.
Key Takeaways
- Making a flicked or winged line along the top of the eyelid is a step of the cat eye makeup. You can draw the winged line with a pencil, liquid, or gel liner.
- Concealer and primer serve to provide a flawless base for makeup by preparing the skin.
- For the ideal cat eye, the most suitable and appropriate eyeliner and brush must be used.
- Depending on preference, the wing’s thickness can be changed; a Q-tip or makeup remover can be used to fix mistakes.
- Applying mascara as the last step to accentuate the lashes.
Learn how to create a perfect cat eye look with this easy makeup tutorial video! Follow along step-by-step to get the perfect winged liner and flirty lashes.
Personal Experience: Source
i. HOW I DO MY CAT EYE LOOK, STEP BY STEP!
https://cateyesredlips.wordpress.com/2013/03/26/how-i-do-my-cat-eye-look-step-by-step/


