How To Do Halo Eye Makeup
Ace this trendy technique that looks complicated but takes a few simple steps to pull off!
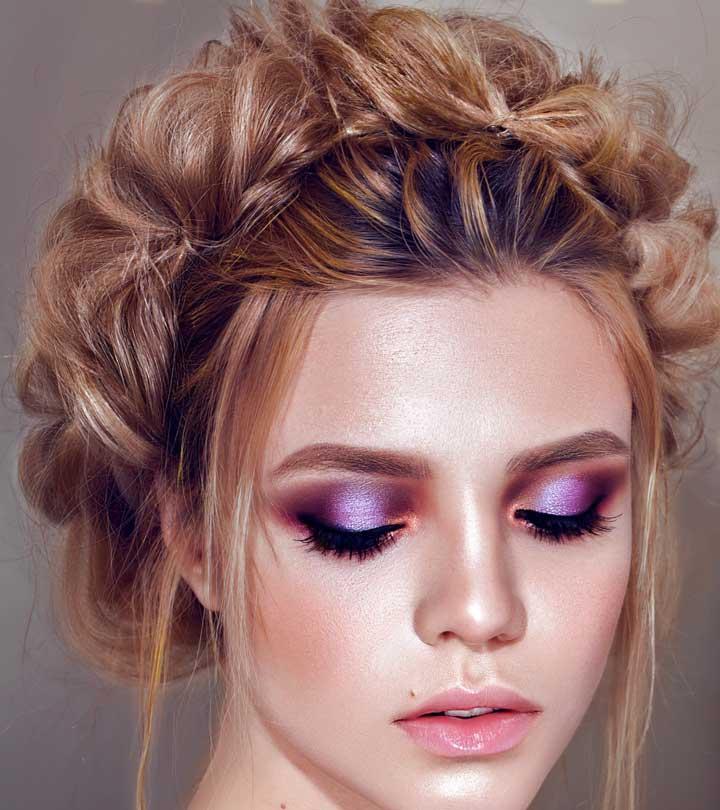
Image: Shutterstock
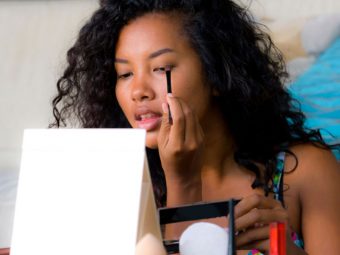
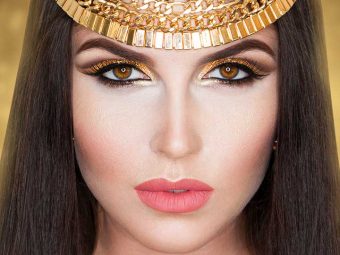
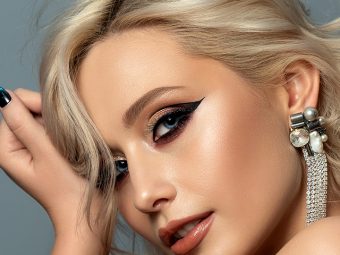
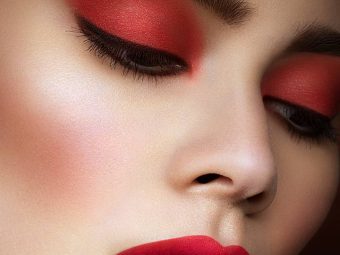
Halo eye makeup has taken social media by storm, and every makeup enthusiast is creating new looks with it. In case you have not yet come across this new trend on Instagram and Pinterest, we are here to help. Halo eye makeup is created with contrasting shades and by highlighting a flat background. This stunning eye makeup technique can instantly take your look from drab to fab. The soft diffusion of color creates a chic effect worth dying for. Want to know how to put together this look? Swipe up to check out the tutorial.
 Keep In Mind
- Skin Tone: Skin Tone For fair skin tones, choose pink or pastel shades; for medium skin tones, choose peach or bronze shades; for dark skin tones, choose gold or copper shades.
- Lipstick Shade: Skin Tone Mute your lips with a nude shade or use a brown lip liner to tone down the bright hue of your lipstick. You can also complement your eye makeup by using a metallic lip gloss to add shimmer to your lips.
- Attire: Skin Tone Draw attention to your eyes in an elegant, monotonous outfit like a solid-color dress or jumpsuit.
- Hairstyle: Skin Tone Keep your tresses away from your face in a chic ponytail or a messy updo.
In This Article
How To Get The Halo Eye Makeup Look
To create this look, you need to swipe one shade of eyeshadow in the middle of your upper and lower lids. Then, surround this shade with a contrasting color on each side to achieve the halo effect. Though it sounds doable, it takes some practice and effort to nail the look. Check out the next section to find out how to do it perfectly.
Halo Smokey Eye Makeup Look
What You Need
- Eyeshadow palette
- Eyeshadow brushes
- Concealer
- Brow pencil
- False eyelashes or mascara
- Gel eyeliner
Step By Step Tutorial With Pictures
Step 1: Prep Away
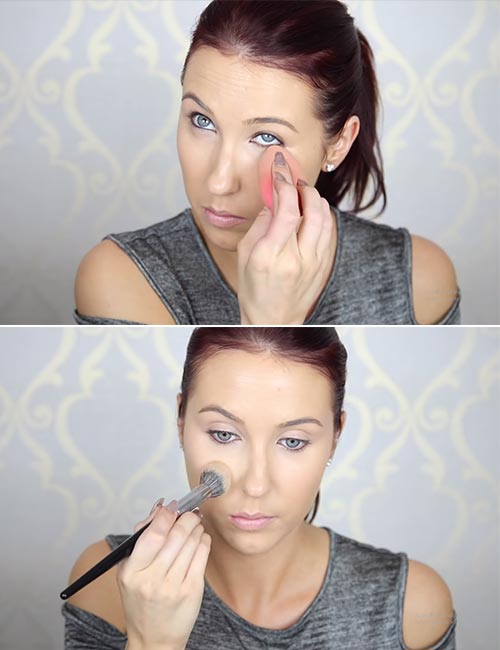
Make sure you start off with a fresh face. Cleansing, toning, and moisturizing make a world of difference. Apply a primer to your face and eyelids to make your makeup stay put all day. If you have dark under-eye circles, apply some concealer on that area and set it with a powder.
 Did You Know?
Step 2: Create The Crease
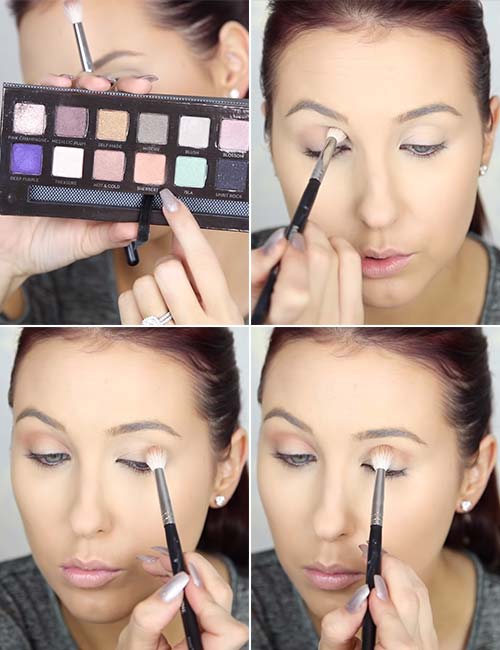
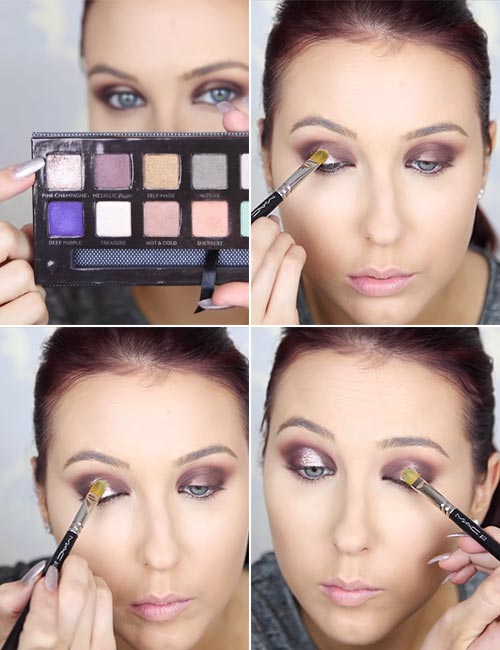
Using a long-haired, fluffy blending brush, pack in your eyeshadow in the crease area. Move the brush all the way from the outer corner to the inner corner of your eye. Blend the color out for an even smokey effect.
Step 3: Move To The Outer Corners
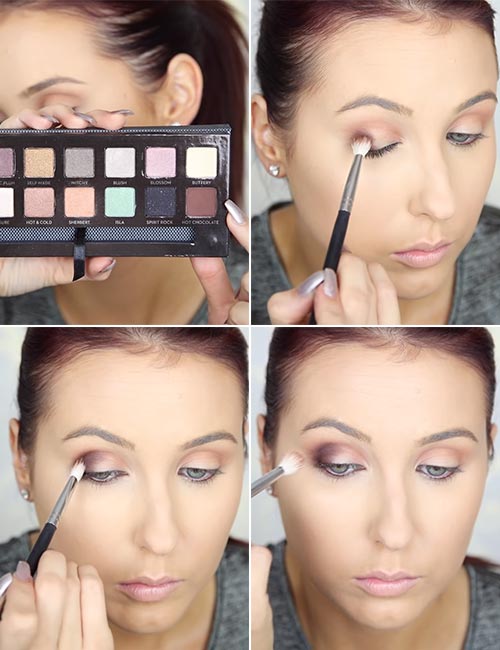
Using a small blending brush, pack in a darker eyeshadow on the outer corner of your eye. The trick is to keep the shadow nice and low, so it stays beneath the crease of your eye. Next, go over the eyeshadow with a clean brush to blend the color out and get rid of harsh lines.
Step 4: Time For The Inner Corners
To give more dimension to your look, add a bit of depth to the inner corners. Grab a pencil brush and pack the same eyeshadow color in the inner corners of your eyes. You want the color to be just as dark as the outer corners.
Tip: For a soft highlight, apply a light matte eyeshadow with a fluffy brush to your brow bone. This little step will help you blend out any harsh lines.
Step 5: Create The Halo
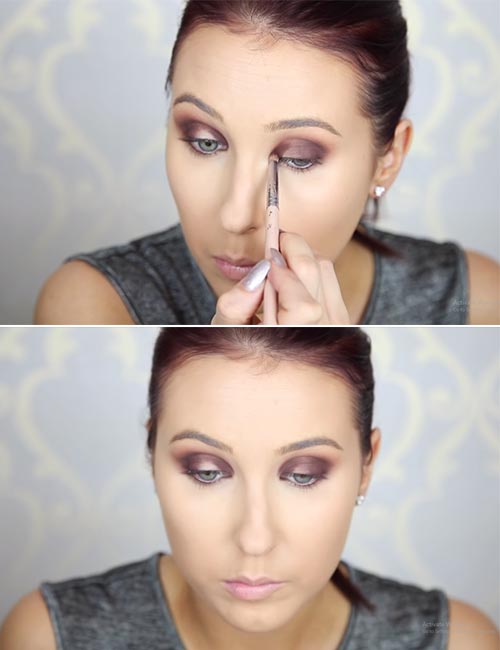
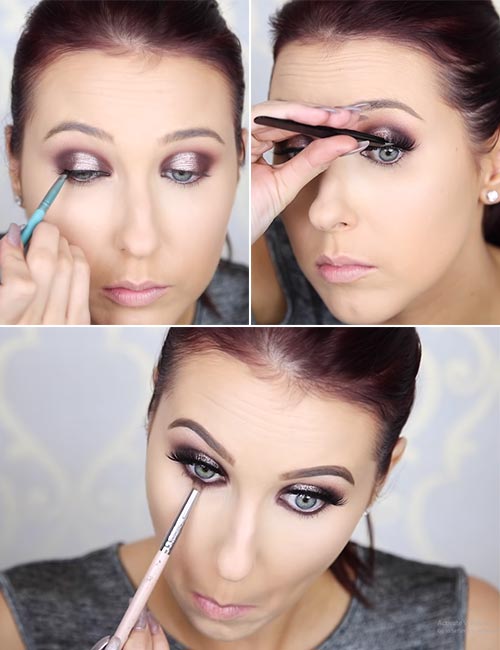
Moving on to the star of the show – your highlight eyeshadow! Use a small eyeshadow brush to apply a lighter bright color (glitter or metallic work) to the center of your eyelids so that it’s sandwiched between the two darker sections of eyeshadow. A damp brush will prevent fallout and also help enhance the finish of the eyeshadow formula.
Tip: Make sure to blend the spots where the highlight shadow meets your darker shadow to make it look like a natural transition.
 Quick Tip
Step 6: The Final Touches
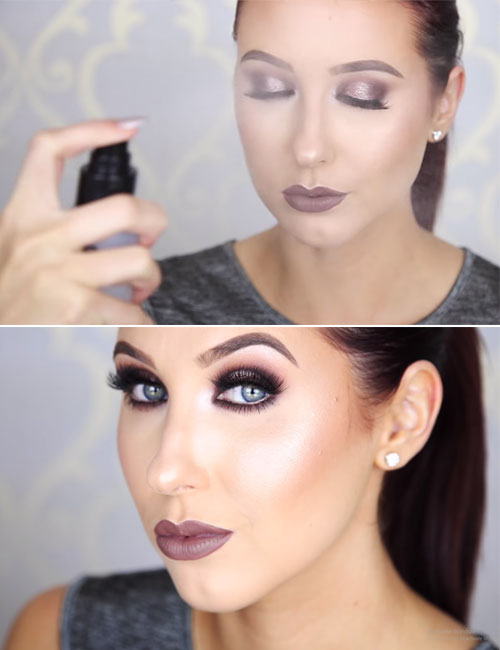
Use a small angled-brush to lightly line your upper and lower lash lines with gel eyeliner. Put on a pair of falsies for a more intense and lush effect. Don’t forget to do your brows! (Remember: groomed brows make any eye makeup look perfected and balanced.)
Tip: Adding a bit of the same highlight eyeshadow to the inner corners of your eyes will help brighten your peepers and create a wide-awake effect.
Here’s the final look!
A blogger explains the process of creating a Halo Eye Makeup look, stating, “It involves 3-4 shades – one you’ll use for your browbone, another for the crease, and then you’ll use the same shade on both the inner and outer v, and the final shade goes in the center.” She even offers a handy tip to tackle eyeshadow fallout, “…you can put a ton of setting powder under your eyes, do your eye makeup, and then sweep all the setting powder & eye shadow fallout away (i).”
As with almost every eye makeup look, the halo eye does different things for different eyes. Scroll down to the next section to find out more.
Tips: Master The Halo Eye Makeup Trend
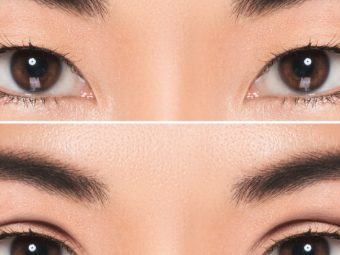
- A halo eye works beautifully to open up monolid eyes. However, it’s best to avoid using very deep shades in the inner corners of your eyes.
- If you have close-set eyes, avoid using high contrast colors as this can make your eyes look even closer together.
- It can be quite a task to create the halo eye look on hooded eyes, but that doesn’t mean you can’t try! You can always adapt the style to your eye shape.
- Round eyes can look even rounder with the halo effect – so be careful which colors you use.
- If you’re going with dark or bright colors for the look, keep your base makeup and lips simple.
That was our simple, step-by-step eye makeup tutorial to create a basic halo eye makeup look that does not require a lot of cosmetics. Have you checked out the growing trend on Instagram yet? The #haloeyes trend has been tagged over 123,000 times. People have been experimenting and giving artistic touches to add to its beauty. This look is popular because it is easy to execute and gives your eyes a bright pop, perfect for parties. No matter the shape and size of your eyes, the halo eye makeup will work wonders for you. Be mindful of some basic beauty tips mentioned above, and you are all set. So, try it out and make headlines at the next party!
Frequently Asked Questions
What are some common mistakes people make when applying halo eye makeup?
The 2 common mistakes people make, which include not setting the concealer with a loose powder, and not using the right brushes to blend the eyeshadow.
How can you make halo eye makeup last all day?
Apply a primer on the eyelids before applying the makeup so that it stays longer.
Are halo eyes suitable for bridal makeup?
Yes, they perfectly complement bridal makeup. However, it’s preferable to go for minimalist shades instead of dark hues such as black or charcoal gray.
What is the difference between halos and angel eyes?
Halo eye makeup is characterized by vibrant, dark shades on the inner and outer corners of the eyelid with lighter hue in the center to create the illusion of bigger eyes, whereas angel eye makeup focuses on a single, solid color that is mostly white or subtle shades such as sky blue, baby pink pink, and lilac.
Key Takeaways
- Contrasting shades are used to create a halo eye makeup look and highlighting a flat background is required for the same.
- It is important to clean the face before doing a halo eye makeup.
- Creating a halo eye makeup look is easy if done the right way.
Check out this video to learn how to do a halo eye cut crease in just a few easy steps! It’s a great look for any occasion and super simple to do.
Personal Experience: Source
i. Makeup for Cosplay: Eyes!


