How To Do A Facial At Home (4 Easy Steps), Precautions, & Tips
When doing a facial at home, follow these precautions and aftercare tips.
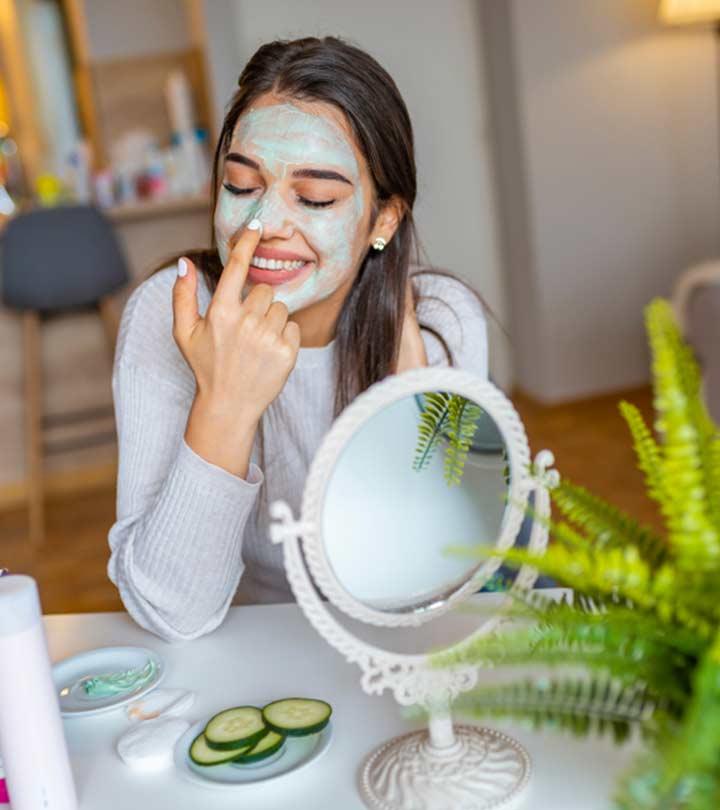
Image: ShutterStock
Put your hand up if you are sick of paying for expensive facials. Even though they are beneficial to the skin, you can give yourself a spa-quality facial at home for half the price! But, do you know how to do a facial at home? Here, we have put up a tutorial on how to give yourself a relaxing facial given below at home. Follow the facial steps carefully to give your skin some much-needed care.
In This Article
How To Give Yourself Perfect At-Home Facial: A Step-By-Step Tutorial
Take some time to prepare yourself for the facial and make it a better experience.
- Preparation: Create a relaxing atmosphere. Light a few aromatic candles. Keep all your electronic devices in “Do-Not-Disturb” mode.
- Skin Analysis: Identify the skin issues you want to address, like blackheads, whiteheads, signs of aging, acne, and sun damage.
- Products: Choose products according to your skin type and beauty concerns. Learn more about different skin types. You can use multi-step facial kits or whip up DIY recipes for the facial. Once you are set, move on to the steps.
Step 1: Clean Your Skin
You Will Need
- Makeup remover or cleansing oil
- A damp cloth or cotton balls or wet wipes
- Face wash
Process
- Clean your face with a makeup remover or cleansing oil. Wipe all traces of makeup and dirt from your eyes, lips, and neck.
- Follow it up with a mild face wash. Avoid products with alcohol, artificial preservatives, and fragrances as they can dry and irritate the skin.
- Gently massage the cleanser onto the face with your fingertips in a circular motion for 30-60 seconds.
- Rinse off with lukewarm water.
Why?
It is essential to start with clean skin. Double cleansing removes all the traces of dirt, grime, oil, and makeup from your face. This allows better penetration of actives and serums into the skin.
Lisette, a vlogger, demonstrated her detailed at-home facial routine. She started by removing her makeup using micellar water, while emphasizing the importance of cleanliness and gentle techniques during these processes. Then she proceeded to dermaplaning and outlined an important tip, “A really really important tip that I can give you guys when it comes to skincare is always washing your hands before you touch your face.” She states that she washes her face after shaving to keep breakouts at bay. After completing her routine, she notes, “I would do something like this probably like once a month, really go in on the skincare, but, you know, I’m telling you, you gotta wash your face every night and day (i).”
Step 2: Exfoliate Your Skin
You Will Need
- Exfoliating scrub or Enzyme-based exfoliator
- Steam machine or Hot towel
- Extraction tools
- Damp cloth
- Lukewarm water
Process
- Scrub your face and neck for 2-5 minutes. If you are using an enzyme-based or chemical exfoliant with AHA and BHA, apply it to your face, avoiding the area around your eyes, and leave it on for the stipulated time before washing it off.
- Moisten your face and steam it with a steam machine or a hot towel. Do not steam for more than 2-3 minutes. Avoid this step if you have sensitive skin.
- Extract whiteheads and blackheads using the extraction tools.
- Rinse your face and pat it dry.
Why?
- Physical and chemical exfoliants have a gritty texture that sloughs away the dead skin cells. However, be careful with both the exfoliants as overdoing them can damage the skin and affect its texture.
- Steam helps dislodge the dirt and debris from the pores and unclog them. It also helps soften blackheads and whiteheads for easy extraction. If you have sensitive skin, you may avoid steaming.
- Extraction is the process of removing blackheads or whiteheads using specialized tools. This needs a little patience and skill. Avoid this step if you are a beginner.
 Quick Tip
Step 3: Massage
You Will Need
- Moisturizing cream or facial oil
- Gua sha scraper or jade/quartz rollers (optional)
Process
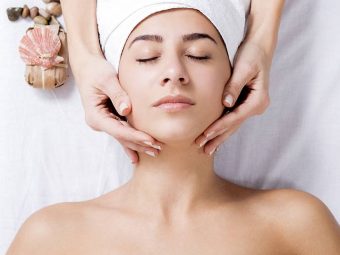
- Apply cream or oil to your face. Gently massage in a circular motion. Ensure to use enough product for a slip. Massage in soft, rolling swipes and increase the pressure gradually for a relaxing experience,
- Keep your strokes outward and upward. Repeat them 5-7 times for best results. Keep changing the motions. Use your fingertips, knuckles, Gua sha scrapers, or jade or quartz rollers. Pat your skin lightly from time to time.
- Knead the skin between your eyebrows with your knuckles and move them towards the hairline.
- Massage your chin with the knuckles, moving them upward and along the jawline. Contour your nose using your index and middle finger.
- Focus on your laugh lines and gently massage the area around the upper lip and lower nose.
- Place your palms underneath your cheekbones and massage towards the hairline.
- Finish with the neck. Massage in vertical strokes from the collarbone towards your face in an upward direction.
Why?
A facial massage stimulates the muscles and improves blood circulation. It boosts skin elasticity and firmness. There are many massaging techniques that have relaxing benefits and provide better penetration of skin care treatments and products, improving skin hydration levels. This makes your skin soft and supple. Massaging also promotes lymphatic drainage, minimizing puffiness and fluid retention.
Step 4: Face Mask
You Will Need
- Face mask (according to your skin type or issue)
- Lukewarm water
- Chilled cucumber slices or rose water-soaked cotton pads (Optional)
Process
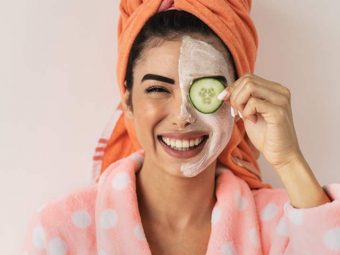
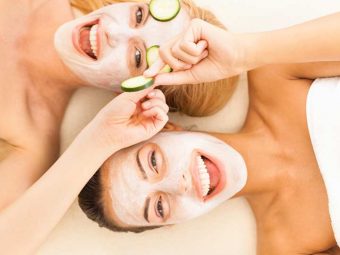
- Apply the mask to your face. You can use peel-off masks, sheet masks, DIY masks, or bubble masks.
- Place the chilled cucumber slices or rose water-soaked cotton pads on your eyes.
- Leave on the mask for 20 minutes and wipe your face with a damp washcloth. If using sheet masks, avoid wiping. Let the serum dry on your face.
- Rinse off with water (avoid if using sheet masks).
- You may use a toner or rose water for toning your skin afterwards.
Why?
Face masks contain ingredients to fight specific skin concerns like acne, fine lines, dark spots, and pigmentation. They may contain ingredients like vitamin C, hyaluronic acidi XA natural compound in the skin that retains moisture. keeps the skin supple, and increases skin flexibility. , niacinamidei XAnother name for vitamin B3 that promotes cell production while protecting the skin against environmental stresses , and ceramidesi XA fat molecule that makes the skin firmer by holding the cells of the uppermost skin layer together. to nourish, hydrate, tone, and brighten your skin.
 Quick Tip
Step 5: Treatments And Moisturizer
Finish off with treatment serums, moisturizer, and sunscreen (if going out). Use serums containing retinoli XA type of vitamin A that helps in skin cell production, skin exfoliation, and unclogging skin pores , resveratroli XA natural polyphenol, particularly found in red wine, which has antioxidant properties and protects the skin from free radical damage. , and lactic acidi XA organic acid that eliminates accumulated dead skin cells from the uppermost skin layer and increases cell turnover. . You may also apply hydrating lip masks and under-eye patches in this step and use microneedle rollers and LED light therapy masks. However, avoid dermabrasion rollers if you have never used them.
At-home facials are the easiest way to pamper your skin. However, you need to take precautions and follow the aftercare tips and tricks to avoid any damage.
Precautions And Aftercare Tips To Follow
- Always be gentle with your skin.
- Follow the instructions properly. Never leave the products on your skin for longer than the recommended duration.
- Try to allot 1-2 hours for a facial.
- Secure the hair with a headband before starting the facial treatment.
- You can wear an old T-shirt or a bathrobe to avoid any mess.
- Do not go outside for at least an hour after the facial. Ingredients like vitamin C and retinol make the skin photosensitive.
- Let your skin breathe and avoid applying makeup for at least an hour.
- Go for facials once or twice a month. The frequency depends on your skin type and concerns.
- Follow a dedicated skin care regimen to maintain your skin health.
Infographic: Face Mask Recipes
Doing a facial at home is a practical and affordable way to keep your skin glowing and healthy. Applying a face mask will address various skin issues and improve your overall skin health. Instead of using store-bought facial masks, you can make your own natural facial masks in the comfort of your home.
Check out the infographic below to know more! Illustration: StyleCraze Design Team
Save the high-quality PDF version on your device now.
Download Infographic
Learning these facial steps at home is practical and economical in the long run. Before you start your facial, identify your skin issues and use products suitable to your skin type. The first two steps require cleansing your face with a cleanser and exfoliator to remove excess dirt, dead skin, and makeup. Once this is done, massage your face with an oil or moisturizing cream and a face mask to boost blood circulation and hydrate your skin. You can finish the facial off with a moisturizer or serum to seal the moisture in your skin. Ensure that you avoid exposure to the sun for some time and follow a skincare routine to keep your skin healthy.
Frequently Asked Questions
How many days before the event should we do a facial?
It is recommended to do a facial 3-4 days before the event to get the desired effect.
When can we wash our face after a facial?
It is best to wash your face the day after the facial. However, if you must, wait for at least 6 to 7 hours after the treatment.
Which facial is best for marriage?
Most brides prefer a gold facial before the wedding day. However, consult your esthetician and pick a facial according to your skin type and needs.
Key Takeaways
- Getting a glowing complexion is simple and inexpensive if you do a home facial.
- A deep understanding of your skin, along with the right products, will make your home spa experience a success.
- If you want to achieve great results, follow our tips closely and avoid applying makeup for a couple of hours after getting a facial.
Learn how to get a radiant glow and clear skin with this easy 3-step facial at home! Get ready to look and feel your best. Check out this video now.
Personal Experience: Source
i. DIY Facial At Home! *clear skin tips*,


